如何在Windows環境下搭建 Elasticsearch(7.5.1)
標簽: elasticsearch
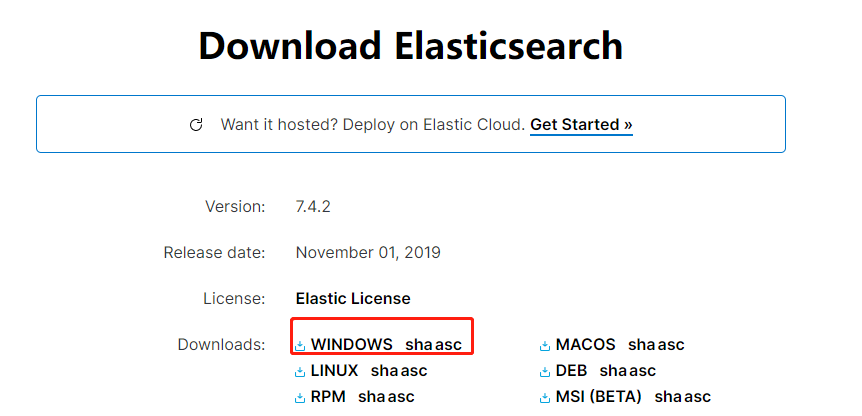
下載Elasticsearch
Elastic官網:https://www.elastic.co/cn/
下載地址: elasticsearch
下載完成后解壓
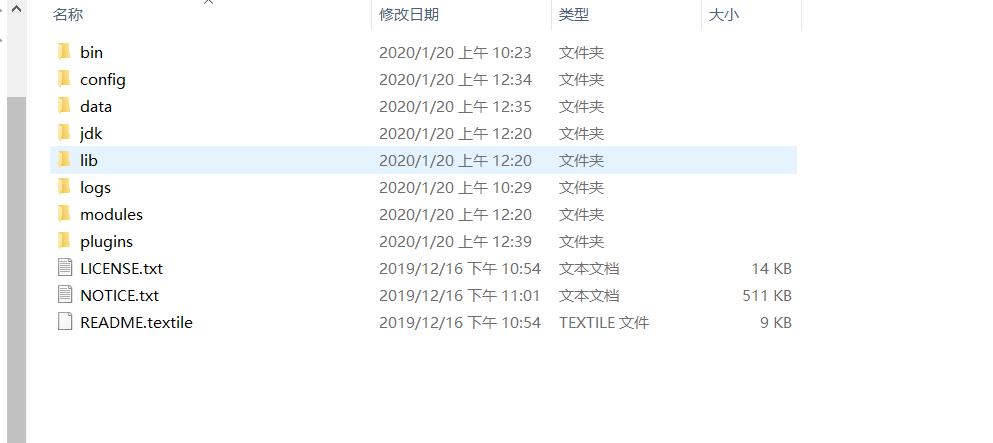
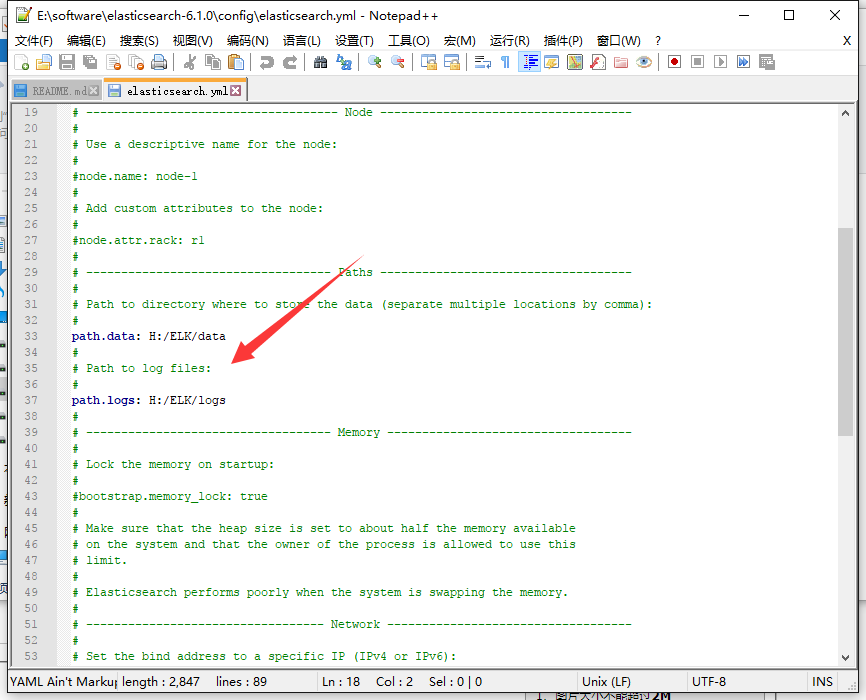
修改config下的elasticsearch.yml
效果如下:
# ======================== Elasticsearch Configuration =========================
#
# NOTE: Elasticsearch comes with reasonable defaults for most settings.
#       Before you set out to tweak and tune the configuration, make sure you
#       understand what are you trying to accomplish and the consequences.
#
# The primary way of configuring a node is via this file. This template lists
# the most important settings you may want to configure for a production cluster.
#
# Please consult the documentation for further information on configuration options:
# https://www.elastic.co/guide/en/elasticsearch/reference/index.html
#
# ---------------------------------- Cluster -----------------------------------
#
# Use a descriptive name for your cluster:
#
cluster.name: my-application
#
# ------------------------------------ Node ------------------------------------
#
# Use a descriptive name for the node:
#
#node.name: node-1
#
# Add custom attributes to the node:
#
#node.attr.rack: r1
#
# ----------------------------------- Paths ------------------------------------
#
# Path to directory where to store the data (separate multiple locations by comma):
#
#path.data: /path/to/data
#
# Path to log files:
#
#path.logs: /path/to/logs
#
# ----------------------------------- Memory -----------------------------------
#
# Lock the memory on startup:
#
#bootstrap.memory_lock: true
#
# Make sure that the heap size is set to about half the memory available
# on the system and that the owner of the process is allowed to use this
# limit.
#
# Elasticsearch performs poorly when the system is swapping the memory.
#
# ---------------------------------- Network -----------------------------------
#
# Set the bind address to a specific IP (IPv4 or IPv6):
#
#network.host: 192.168.0.1
network.host: 0.0.0.0
# Set a custom port for HTTP:
#
http.port: 9200
#
# For more information, consult the network module documentation.
#
# --------------------------------- Discovery ----------------------------------
#
# Pass an initial list of hosts to perform discovery when this node is started:
# The default list of hosts is ["127.0.0.1", "[::1]"]
#
#discovery.seed_hosts: ["host1", "host2"]
#
# Bootstrap the cluster using an initial set of master-eligible nodes:
#
#cluster.initial_master_nodes: ["node-1", "node-2"]
cluster.initial_master_nodes: ["127.0.0.1", "[::1]"]
#
# For more information, consult the discovery and cluster formation module documentation.
#
# ---------------------------------- Gateway -----------------------------------
#
# Block initial recovery after a full cluster restart until N nodes are started:
#
#gateway.recover_after_nodes: 3
#
# For more information, consult the gateway module documentation.
#
# ---------------------------------- Various -----------------------------------
#
# Require explicit names when deleting indices:
#
#action.destructive_requires_name: true
http.cors.enabled: true
http.cors.allow-origin: "*"
node.master: true
node.data: true
進入 jvm.options 文件進行修改 效果如下:
## JVM configuration

################################################################
## IMPORTANT: JVM heap size
################################################################
##
## You should always set the min and max JVM heap
## size to the same value. For example, to set
## the heap to 4 GB, set:
##
## -Xms4g
## -Xmx4g
##
## See https://www.elastic.co/guide/en/elasticsearch/reference/current/heap-size.html
## for more information
##
################################################################

# Xms represents the initial size of total heap space
# Xmx represents the maximum size of total heap space

-Xms256m
-Xmx256m

################################################################
## Expert settings
################################################################
##
## All settings below this section are considered
## expert settings. Don't tamper with them unless
## you understand what you are doing
##
################################################################

## GC configuration
-XX:+UseConcMarkSweepGC
-XX:CMSInitiatingOccupancyFraction=75
-XX:+UseCMSInitiatingOccupancyOnly

## G1GC Configuration
# NOTE: G1GC is only supported on JDK version 10 or later.
# To use G1GC uncomment the lines below.
# 10-:-XX:-UseConcMarkSweepGC
# 10-:-XX:-UseCMSInitiatingOccupancyOnly
# 10-:-XX:+UseG1GC
# 10-:-XX:G1ReservePercent=25
# 10-:-XX:InitiatingHeapOccupancyPercent=30

## JVM temporary directory
-Djava.io.tmpdir=${ES_TMPDIR}

## heap dumps

# generate a heap dump when an allocation from the Java heap fails
# heap dumps are created in the working directory of the JVM
-XX:+HeapDumpOnOutOfMemoryError

# specify an alternative path for heap dumps; ensure the directory exists and
# has sufficient space
-XX:HeapDumpPath=data

# specify an alternative path for JVM fatal error logs
-XX:ErrorFile=logs/hs_err_pid%p.log

## JDK 8 GC logging
8:-XX:+PrintGCDetails
8:-XX:+PrintGCDateStamps
8:-XX:+PrintTenuringDistribution
8:-XX:+PrintGCApplicationStoppedTime
8:-Xloggc:logs/gc.log
8:-XX:+UseGCLogFileRotation
8:-XX:NumberOfGCLogFiles=32
8:-XX:GCLogFileSize=64m

# JDK 9+ GC logging
9-:-Xlog:gc*,gc+age=trace,safepoint:file=logs/gc.log:utctime,pid,tags:filecount=32,filesize=64m
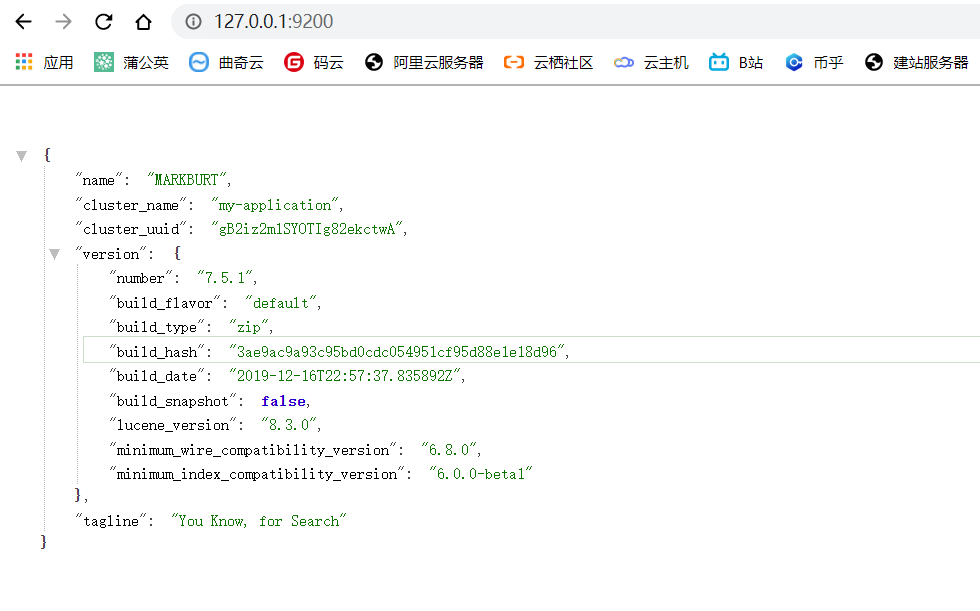
進入bin 目錄 雙擊 elasticsearch.bat
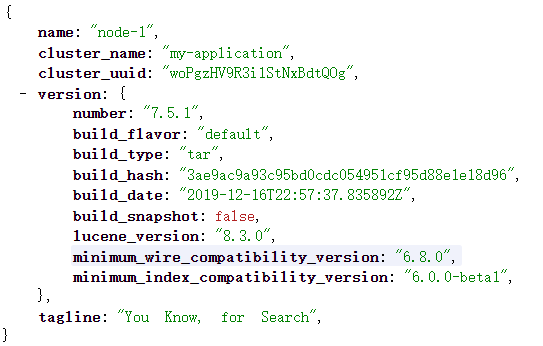
訪問 127.0.0.1:9200 效果如下:
安裝IK分詞器
下載
注意:你的Elasticsearch和IK分詞器必須版本統一
下載地址
下載后解壓至新建文件夾 IK 目錄下
效果如下:
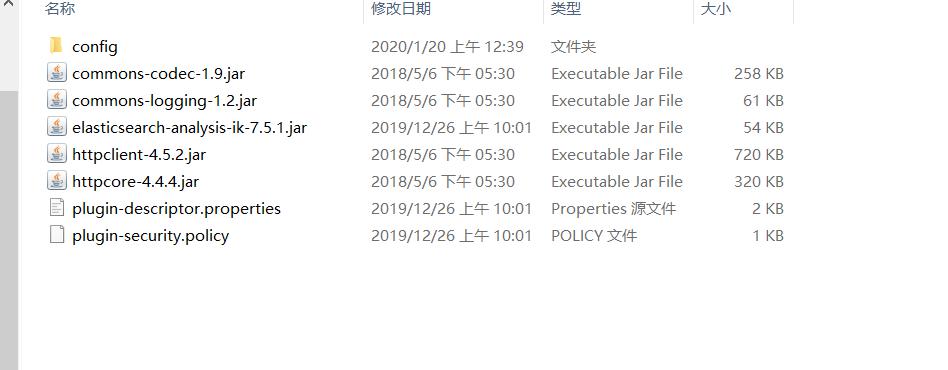
將文件夾轉移至elasticsearch-7.5.1/plugins目錄下
重啟elasticsearch
進入postman進行測試 是否安裝成功
效果如下
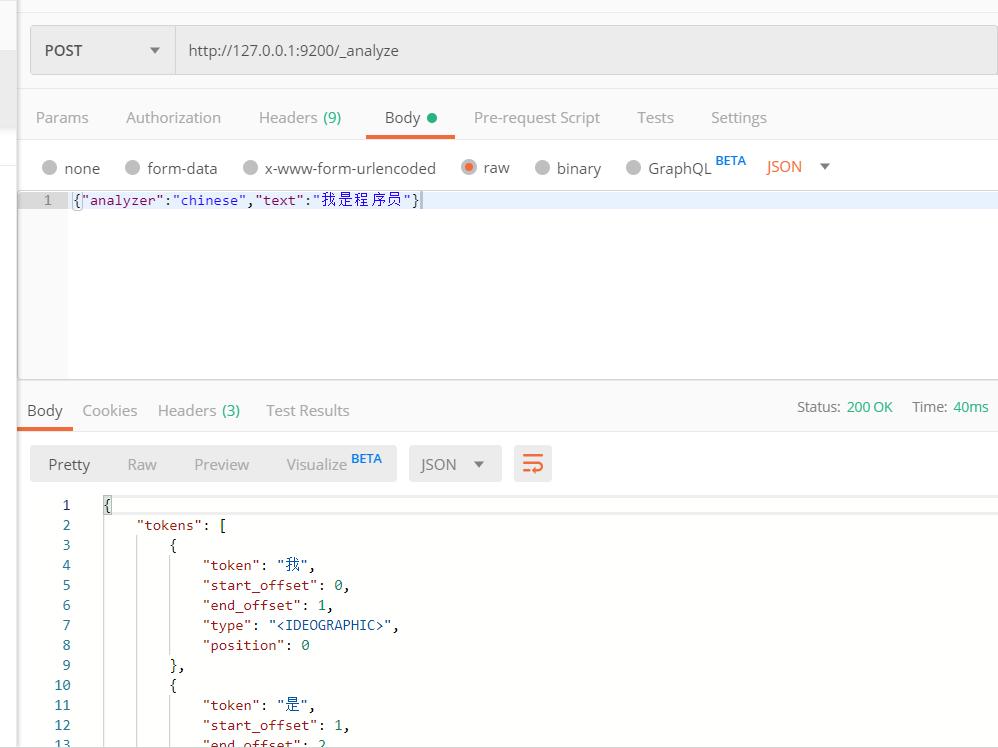
http://127.0.0.1:9200/_analyze

{"analyzer":"chinese","text":"我是程序員"}
安裝安裝Head插件
下載地址
下載后效果:

修改Gruntfile.js 文件
效果如下:
module.exports = function(grunt) {

	var fileSets = require("./grunt_fileSets.js");

	// Project configuration.
	grunt.initConfig({
		clean: {
			_site: {
				src: ['_site']
			}
		},
		concat: {
			vendorjs: {
				src: fileSets.vendorJs,
				dest: '_site/vendor.js'
			},
			vendorcss: {
				src: fileSets.vendorCss,
				dest: '_site/vendor.css'
			},
			appjs: {
				src: fileSets.srcJs,
				dest: '_site/app.js'
			},
			appcss: {
				src: fileSets.srcCss,
				dest: '_site/app.css'
			}
		},

		copy: {
			site_index: {
				src: 'index.html',
				dest: '_site/index.html',
				options: {
					process: function( src ) {
						return src.replace(/_site\//g, "");
					}
				}
			},
			base: {
				expand: true,
				cwd: 'src/app/base/',
				src: [ '*.gif', '*.png', '*.css' ],
				dest: '_site/base/'
			},
			iconFonts: {
				expand: true,
				cwd: 'src/vendor/font-awesome/fonts/',
				src: '**',
				dest: '_site/fonts'
			},
			i18n: {
				src: 'src/vendor/i18n/i18n.js',
				dest: '_site/i18n.js'
			},
			lang: {
				expand: true,
				cwd: 'src/app/lang/',
				src: '**',
				dest: '_site/lang/'
			},
			chrome: {
				src: 'src/chrome_ext/*.*',
				dest: '_site/'
			}
		},

		jasmine: {
			task: {
				src: [ fileSets.vendorJs, 'src/vendor/i18n/i18n.js', 'src/app/lang/en_strings.js', fileSets.srcJs ],
				options: {
					specs: 'src/app/**/*Spec.js',
					helpers: 'test/spec/*Helper.js',
					display: "short",
					summary: true
				}
			}
		},

		watch: {
			"scripts": {
				files: ['src/**/*', 'test/spec/*' ],
				tasks: ['default'],
				options: {
					spawn: false
				}
			},
			"grunt": {
				files: [ 'Gruntfile.js' ]
			}
		},

		connect: {
			server: {
				options: {
					hostname: '*',
					port: 9100,
					base: '.',
					keepalive: true
				}
			}
		}

	});

	grunt.loadNpmTasks('grunt-contrib-clean');
	grunt.loadNpmTasks('grunt-contrib-concat');
	grunt.loadNpmTasks('grunt-contrib-watch');
	grunt.loadNpmTasks('grunt-contrib-connect');
	grunt.loadNpmTasks('grunt-contrib-copy');
	grunt.loadNpmTasks('grunt-contrib-jasmine');

	// Default task(s).
	grunt.registerTask('default', ['clean', 'concat', 'copy', 'jasmine']);
	grunt.registerTask('server', ['connect:server']);
	grunt.registerTask('dev', [ 'default', 'watch' ]);


};
注意:es5以上版本安裝head需要安裝node和grunt
從地址:https://nodejs.org/en/download/ 下載相應系統的msi,雙擊安裝。
執行 npm install -g grunt-cli 安裝grunt ,安裝完成后執行grunt -version查看是否安裝成功,會顯示安裝的版本號
cmd 進入 elasticsearch-head 目錄 執行
npm install
grunt server 或者 npm run start
如果運行不成功建議重新安裝grunt
打開瀏覽器訪問:http://127.0.0.1:9100
效果如下:
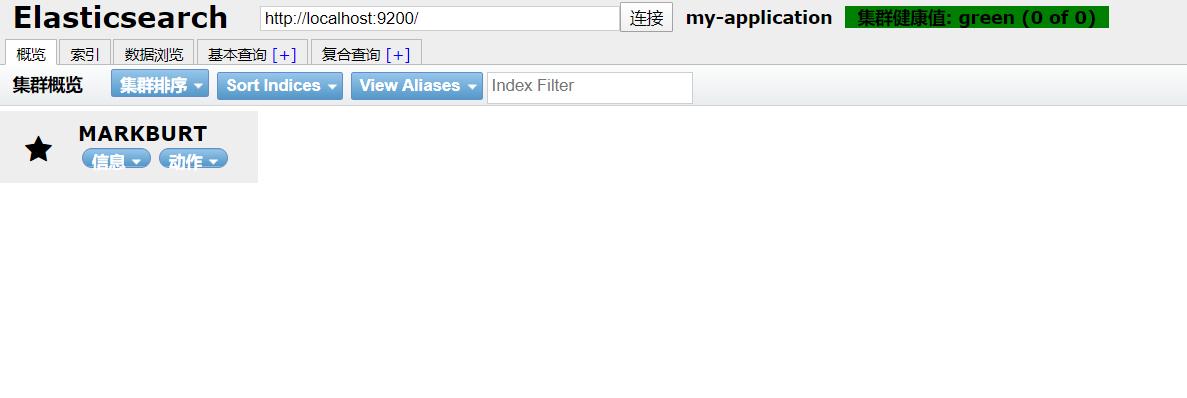
至此Windows環境下搭建 Elasticsearch(7.5.1) 就全部完成了
如果出現問題請在下方評論區告知
智能推薦
騰訊云安裝elasticsearch-7.5.1(僅單機)
下載es wget https://artifacts.elastic.co/downloads/elasticsearch/elasticsearch-7.5.1-linux-x86_64.tar.gz kibana下載地址: https://artifacts.elastic.co/downloads/kibana/kibana-7.5.1-linux-x86_64.tar...
ElasticSearch學習筆記:1、Windows下環境搭建
ElasticSearch學習筆記:1、Windows下環境搭建 ElasticSearch基本介紹 1)基于Apache Luece構建的開源搜索引擎 2)采用Java編寫,提供易用的RESTFul API 3)輕松的橫向擴展,可支持PB級別的結構化和非結構化數據處理 基本概念 索引:含有相同屬性的文檔集合 類型:索引可以定義一個或者多個類型,文檔必須屬于一個類型 文檔:文檔是可以被索引的基本單...
windows下ELK(ElasticSearch、Logstash、Kibana)環境的搭建
一:前言 ELK是ElasticSearch、Logstash、Kibana三個應用的縮寫。 ElasticSearch簡稱ES,主要用來存儲和檢索數據。Logstash主要用來往ES中寫入數據。Kibana主要用來展示數據。 三個軟件都是開源的,可以從https://www.elastic.co/cn/products這里下載 二:安裝 下載完之后直接解壓到相應目錄,比如像我這這樣 這樣就完成了...
Windows下Elasticsearch環境搭建并結合Python簡單使用
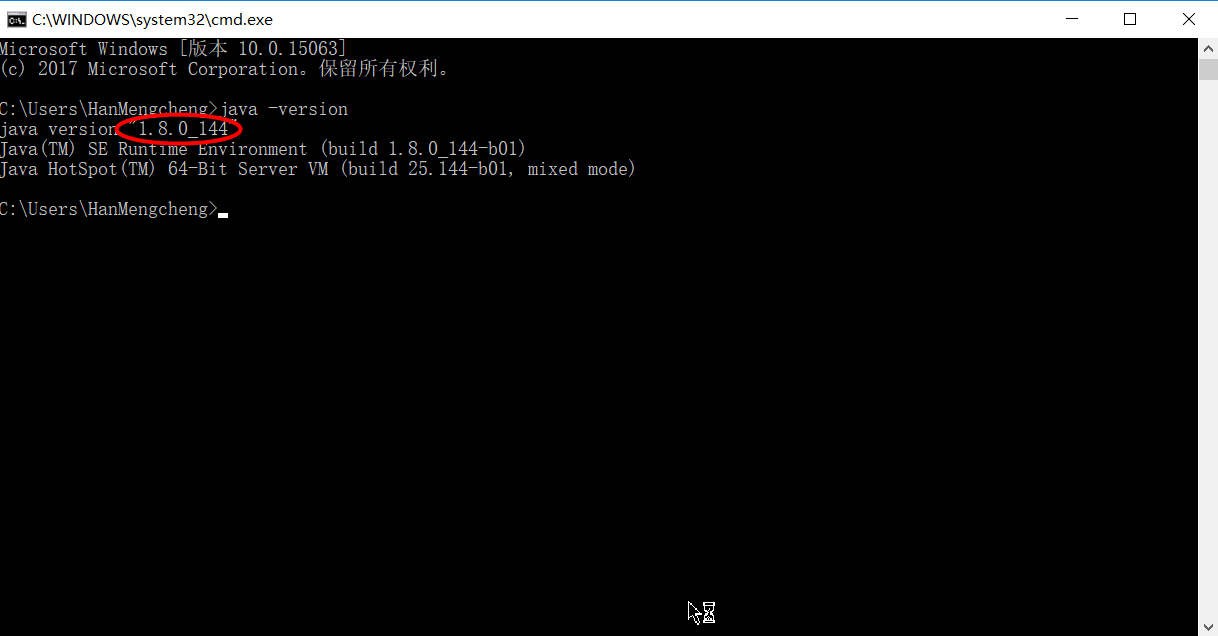
操作系統:windows10_64位 1 Elasticsearch依賴Java環境,所以需要先確認機器上的Java環境及版本。 在cmd中輸入:java -version 如果正常顯示Java版本,并且1.7以上就可以了,不過最好還是升級到Java1.8。如果你也是win10,那么升級的方法也很簡單,進入C:\ProgramData\Microsoft\Windows\Start Menu\Pr...
ElasticSearch-05windows本地環境下搭建集群
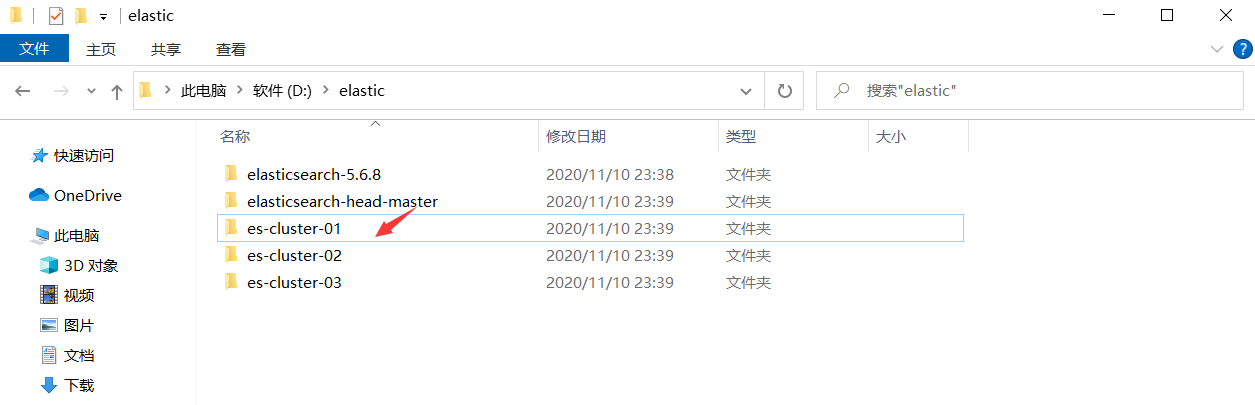
部署環境: win10,es5.6.8 1.首先通過地址:https://www.elastic.co/cn/downloads/past-releases#elasticsearch 下載對應的版本,再解壓文件,復制三份到本地,并分別命名文件夾為es-cluster-01,es-cluster-02,es-cluster-03,便于標識區分: 2.修改三個節點對應的配置文件: a).在第一個配置...
猜你喜歡
Windows 環境下安裝 ElasticSearch
環境與版本 操作系統:windows 10(或更高的服務器版本) Elasticsearch 版本:7.4.2(下載最新版本也可以---此版本自帶java jvm) Java 版本:13 ik 分詞器版本:7.4.2 安裝步驟 前置要求 操作系統中需要安裝有 java 13 運行時環境 安裝 Elasticsearch 新建文件夾 在 E 盤根目錄下新建 Elasti...


freemarker + ItextRender 根據模板生成PDF文件
1. 制作模板 2. 獲取模板,并將所獲取的數據加載生成html文件 2. 生成PDF文件 其中由兩個地方需要注意,都是關于獲取文件路徑的問題,由于項目部署的時候是打包成jar包形式,所以在開發過程中時直接安照傳統的獲取方法沒有一點文件,但是當打包后部署,總是出錯。于是參考網上文章,先將文件讀出來到項目的臨時目錄下,然后再按正常方式加載該臨時文件; 還有一個問題至今沒有解決,就是關于生成PDF文件...
電腦空間不夠了?教你一個小秒招快速清理 Docker 占用的磁盤空間!
Docker 很占用空間,每當我們運行容器、拉取鏡像、部署應用、構建自己的鏡像時,我們的磁盤空間會被大量占用。 如果你也被這個問題所困擾,咱們就一起看一下 Docker 是如何使用磁盤空間的,以及如何回收。 docker 占用的空間可以通過下面的命令查看: TYPE 列出了docker 使用磁盤的 4 種類型: Images:所有鏡像占用的空間,包括拉取下來的鏡像,和本地構建的。 Con...

requests實現全自動PPT模板
http://www.1ppt.com/moban/ 可以免費的下載PPT模板,當然如果要人工一個個下,還是挺麻煩的,我們可以利用requests輕松下載 訪問這個主頁,我們可以看到下面的樣式 點每一個PPT模板的圖片,我們可以進入到詳細的信息頁面,翻到下面,我們可以看到對應的下載地址 點擊這個下載的按鈕,我們便可以下載對應的PPT壓縮包 那我們就開始做吧 首先,查看網頁的源代碼,我們可以看到每一...