SpringCloud 2.x學習筆記:5、Config(Greenwich版本)
說明:參考 https://www.fangzhipeng.com/springcloud/2019/02/21/config-jdbc.html
1、Config介紹
在分布式系統中,由于服務數量巨多,為了方便服務配置文件統一管理,實時更新,所以需要分布式配置中心組件。
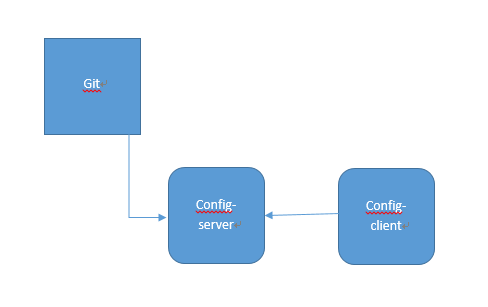
在spring cloud config 組件中,分兩個角色,一是config server,二是config client。
Spring Cloud Config Server最常見是將配置文件存放方式有3種:
(1)本地
(2)遠程Git倉庫
(3)局域網數據庫
本文介紹局域網數據庫方式存儲配置文件
2、樣例
2.1 數據庫
(1) 創建數據庫實例
MariaDB [(none)]> create database config;
Query OK, 1 row affected (0.03 sec)

MariaDB [(none)]> use config;
Database changed
MariaDB [config]>
(2) 創建數據表
MariaDB [config]> CREATE TABLE `config_properties` (
    ->   `id` bigint(20) NOT NULL AUTO_INCREMENT,
    ->   `key1` varchar(50) COLLATE utf8_bin NOT NULL,
    ->   `value1` varchar(500) COLLATE utf8_bin DEFAULT NULL,
    ->   `application` varchar(50) COLLATE utf8_bin NOT NULL,
    ->   `profile` varchar(50) COLLATE utf8_bin NOT NULL,
    ->   `label` varchar(50) COLLATE utf8_bin DEFAULT NULL,
    ->   PRIMARY KEY (`id`)
    -> ) ENGINE=InnoDB AUTO_INCREMENT=1 DEFAULT CHARSET=utf8 COLLATE=utf8_bin;
Query OK, 0 rows affected (0.00 sec)

MariaDB [config]>
(3) 插入數據
MariaDB [config]> insert into `config_properties` (`id`, `key1`, `value1`, `application`, `profile`, `label`) values('1','server.port','8083','config-client','dev','master');
'2','foo','bar-jdbc','config-client','dev','master');Query OK, 1 row affected (0.00 sec)

MariaDB [config]> insert into `config_properties` (`id`, `key1`, `value1`, `application`, `profile`, `label`) values('2','foo','bar-jdbc','config-client','dev','master');
Query OK, 1 row affected (0.00 sec)

MariaDB [config]>
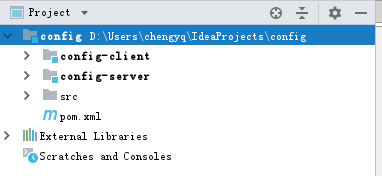
2.2 父級項目
<?xml version="1.0" encoding="UTF-8"?>
<project xmlns="http://maven.apache.org/POM/4.0.0"
         xmlns:xsi="http://www.w3.org/2001/XMLSchema-instance"
         xsi:schemaLocation="http://maven.apache.org/POM/4.0.0 http://maven.apache.org/xsd/maven-4.0.0.xsd">
    <modelVersion>4.0.0</modelVersion>

    <groupId>com.cntaiping.tpa</groupId>
    <artifactId>config</artifactId>
    <version>1.0-SNAPSHOT</version>
    <packaging>pom</packaging>
    <name>config</name>
    <description>Demo project for Spring Boot</description>

    <properties>
        <project.build.sourceEncoding>UTF-8</project.build.sourceEncoding>
        <project.reporting.outputEncoding>UTF-8</project.reporting.outputEncoding>
        <java.version>1.8</java.version>
        <spring-cloud.version>Greenwich.SR1</spring-cloud.version>
    </properties>

    <parent>
        <groupId>org.springframework.boot</groupId>
        <artifactId>spring-boot-starter-parent</artifactId>
        <version>2.1.5.RELEASE</version>
        <relativePath/>
    </parent>

    <modules>
        <module>config-server</module>
        <module>config-client</module>
    </modules>

    <dependencies>
        <dependency>
            <groupId>org.springframework.boot</groupId>
            <artifactId>spring-boot-starter-web</artifactId>
        </dependency>
        <dependency>
            <groupId>org.springframework.boot</groupId>
            <artifactId>spring-boot-starter-test</artifactId>
            <scope>test</scope>
        </dependency>
    </dependencies>

    <dependencyManagement>
        <dependencies>
            <dependency>
                <groupId>org.springframework.cloud</groupId>
                <artifactId>spring-cloud-dependencies</artifactId>
                <version>${spring-cloud.version}</version>
                <type>pom</type>
                <scope>import</scope>
            </dependency>
        </dependencies>
    </dependencyManagement>

    <build>
        <plugins>
            <plugin>
                <groupId>org.springframework.boot</groupId>
                <artifactId>spring-boot-maven-plugin</artifactId>
            </plugin>
        </plugins>
    </build>
</project>
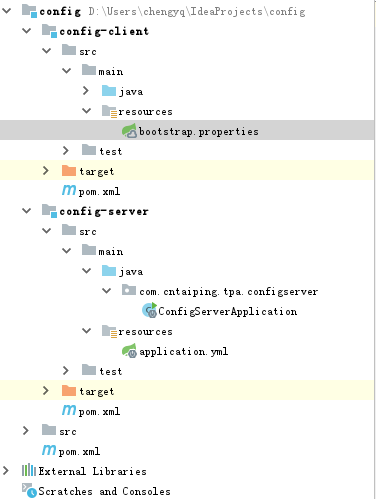
2.3 Config Server模塊
(1)pom文件
<?xml version="1.0" encoding="UTF-8"?>
<project xmlns="http://maven.apache.org/POM/4.0.0" xmlns:xsi="http://www.w3.org/2001/XMLSchema-instance"
         xsi:schemaLocation="http://maven.apache.org/POM/4.0.0 http://maven.apache.org/xsd/maven-4.0.0.xsd">
    <modelVersion>4.0.0</modelVersion>
    <groupId>com.cntaiping.tpa</groupId>
    <artifactId>config-server</artifactId>
    <version>0.0.1-SNAPSHOT</version>
    <packaging>jar</packaging>
    <name>config-server</name>
    <description>Demo project for Spring Boot</description>

    <parent>
        <groupId>com.cntaiping.tpa</groupId>
        <artifactId>config</artifactId>
        <version>1.0-SNAPSHOT</version>
    </parent>

    <dependencies>
        <dependency>
            <groupId>org.springframework.cloud</groupId>
            <artifactId>spring-cloud-config-server</artifactId>
        </dependency>
        <dependency>
            <groupId>mysql</groupId>
            <artifactId>mysql-connector-java</artifactId>
        </dependency>
        <dependency>
            <groupId>org.springframework.boot</groupId>
            <artifactId>spring-boot-starter-jdbc</artifactId>
        </dependency>
    </dependencies>

</project>
(2) application.yml
spring:
  profiles:
    active: jdbc
  application:
    name: config-server
  datasource:
    url: jdbc:mysql://10.17.12.160:3306/config?useUnicode=true&characterEncoding=utf8&characterSetResults=utf8&serverTimezone=GMT%2B8
    username: root
    password: 123456
    driver-class-name: com.mysql.jdbc.Driver
  cloud:
    config:
      label: master
      server:
        jdbc: true
server:
  port: 8300
spring.cloud.config.server.jdbc.sql: SELECT key1, value1 from config_properties where APPLICATION=? and PROFILE=? and LABEL=?
(3) Application類
添加@EnableConfigServer
package com.cntaiping.tpa.configserver;

import org.springframework.boot.SpringApplication;
import org.springframework.boot.autoconfigure.SpringBootApplication;
import org.springframework.cloud.config.server.EnableConfigServer;

@SpringBootApplication
@EnableConfigServer
public class ConfigServerApplication {

    public static void main(String[] args) {
        SpringApplication.run(ConfigServerApplication.class, args);
    }

}
2.4 Config Client模塊
(1) pom.xml
<?xml version="1.0" encoding="UTF-8"?>
<project xmlns="http://maven.apache.org/POM/4.0.0" xmlns:xsi="http://www.w3.org/2001/XMLSchema-instance"
         xsi:schemaLocation="http://maven.apache.org/POM/4.0.0 http://maven.apache.org/xsd/maven-4.0.0.xsd">
    <modelVersion>4.0.0</modelVersion>
    <groupId>com.cntaiping.tpa</groupId>
    <artifactId>config-client</artifactId>
    <version>0.0.1-SNAPSHOT</version>
    <packaging>jar</packaging>
    <name>config-client</name>
    <description>Demo project for Spring Boot</description>

    <parent>
        <groupId>com.cntaiping.tpa</groupId>
        <artifactId>config</artifactId>
        <version>1.0-SNAPSHOT</version>
    </parent>

    <dependencies>
        <dependency>
            <groupId>org.springframework.cloud</groupId>
            <artifactId>spring-cloud-starter-config</artifactId>
        </dependency>
    </dependencies>

</project>
(2) bootstrap.properties
新建文件bootstrap.properties
spring.application.name=config-client
spring.cloud.config.uri= http://localhost:8300/
spring.cloud.config.fail-fast=true
spring.profiles.active=dev
默認端口號8083
(3) Application類
package com.cntaiping.tpa.configclient;

import org.springframework.boot.SpringApplication;
import org.springframework.boot.autoconfigure.SpringBootApplication;

@SpringBootApplication
public class ConfigClientApplication {

    public static void main(String[] args) {
        SpringApplication.run(ConfigClientApplication.class, args);
    }

}
(4)控制器
package com.cntaiping.tpa.configclient.controller;

import org.springframework.beans.factory.annotation.Value;
import org.springframework.web.bind.annotation.RequestMapping;
import org.springframework.web.bind.annotation.RestController;

@RestController
public class ConfigController {

    @Value("${server.port}")
    String port;

    @Value("${foo}")
    String foo;

    @RequestMapping(value = "/get")
    public String get(String key){
        if("foo".equals(key)){
            return foo;
        }
        if("server.port".equals(key)){
            return port;
        }
        return "";
    }
}
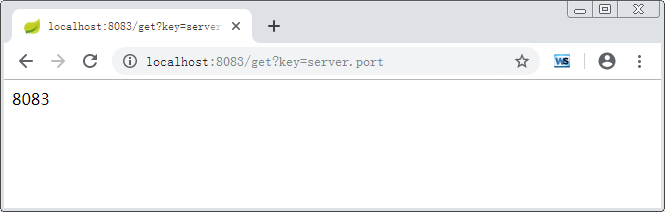
2.5 運行效果
運行server

運行client

http://localhost:8083/get?key=server.port
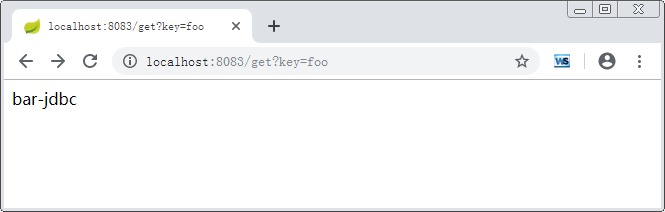
http://localhost:8083/get?key=foo
智能推薦
SpringCloud2.x Greenwich版本搭建:(九) Nacos做為配置中心
1.提供者中添加依賴 2.新建bootstrap.yml 配置了Nacos config server的地址,這里相關信息與Nacos中的dataId 的格式是對應的 3.控制層 4.Nacos客戶端添加配置文件 5.刪除提供者中的application.properties,啟動提供者測試 6.Nacos客戶端修改配置 7.發布成功再次訪問http://localhost:8701/u...
SpringCloud2.x Greenwich版本搭建:(八) Nacos做為注冊中心
1.下載Nacos: https://github.com/alibaba/nacos/releases 2.運行bin目錄下的腳本 我下載的是zip版本,在liunx可以下載tar版本的。 輸入http://localhost:8848/nacos/#/login 賬號密碼默認為nacos 3.創建springboot項目 4.創建提供者Modulen項目nacos-pr...

SpringCloud 2.x學習筆記:20、Nacos的數據持久化(MySQL)
1、Nacos集群的基礎需求 參考:http://blog.didispace.com/spring-cloud-alibaba-4/ 在搭建Nacos高可用集群之前,我們需要先修改Nacos的數據持久化配置為MySQL存儲。 如果啟動多個默認配置下的Nacos節點,數據存儲是存在一致性問題的。 為了解決這個問題,Nacos采用了集中式存儲的方式來支持集群化部署(目前只要支持MySQL的存儲)。與...
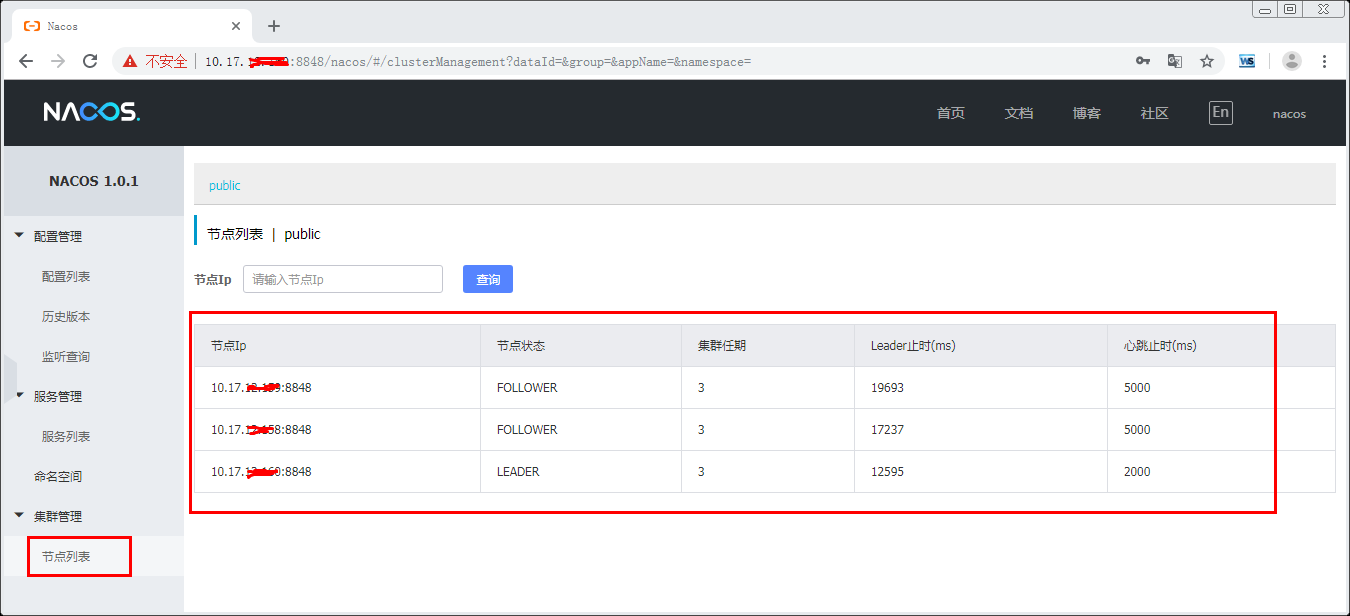
SpringCloud 2.x學習筆記:21、Nacos集群模式部署
1、Nacos集群模式部署 官方參考文檔 https://nacos.io/zh-cn/docs/cluster-mode-quick-start.html 1.1 編輯集群配置文件 分別在三個節點上編輯集群配置文件 1 2 3 4 5 6 1.2 啟動集群節點 sh startup.sh 1 2 3 4 5 6 7 8 9 10 11 12 13 14 1 2 3 4 5 6 7 8 9 10 ...

SpringCloud學習筆記(六)- SpringCloud Config
分布式配置中心 SpringCloud Config Spring Cloud Config 為分布式系統中的為服務提供集中化配置的支持; 分為客戶端和服務端,服務端也稱為配置中心,是一個獨立的微服務應用,用來連接配置倉庫并為客戶端提供配置信息、加密/解密信息等訪問接口;客戶端則是為服務架構中的各個微服務應用,它通過配置中心獲取倉庫中的配置信息。 構建Config Server 配置中心 1、 引...
猜你喜歡
SpringCloud教程-分布式配置中心Config (SpringCloud版本Greenwich.SR4)
文章目錄 Config(分布式配置中心)簡介 創建服務端ConfigServer 創建客戶端config-client Config(分布式配置中心)簡介 Spring Cloud Config項目是一個解決分布式系統的配置管理方案。它包含了Client和Server兩個部分,server提供配置文件的存儲、以接口的形式將配置文件的內容提供出去,client通過接口獲取數據、并依據此數據初始化自己...
Spring Cloud 2.x學習筆記:2、feign改進(Greenwich版本)
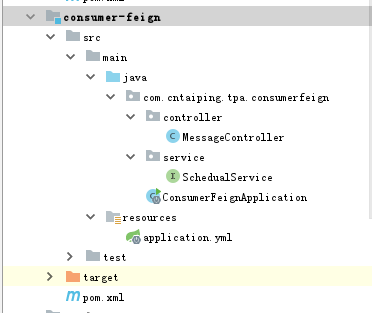
1、Feign簡介 Feign 整合了ribbon,具有負載均衡的能力;Feign 采用的是基于接口的注解 2、新建模塊 新建一個服務消費者模塊consumer-feign,代碼結構如下圖所示。 2.1 pom文件 2.2 配置文件application.yml 2.3 啟動類 2.4 服務消費類 (1)Service層 定義一個feign接口,通過@ FeignClient(“服務名...
SpringCloud 2.x Eureka安全配置
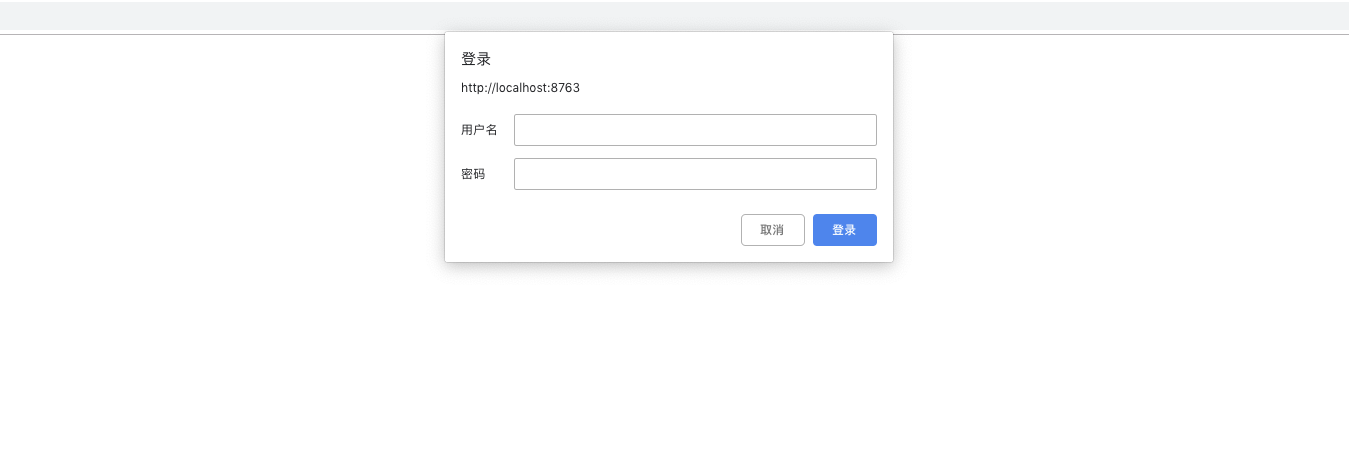
為什么80%的碼農都做不了架構師?>>> springcloud升級到2.x后Eureka安全配置與1.x有部分變動,具體配置如下: 1、加入依賴: 2、配置application.yml,自定義用戶名與密碼: 3、新版本的security默認開啟csrf了,這里我們先關掉它,新建一個配置類: 4、瀏覽器訪問,輸入剛才設置的用戶名與密碼: 4、訪問成功:...
SpringCloud---SpringCloud Config
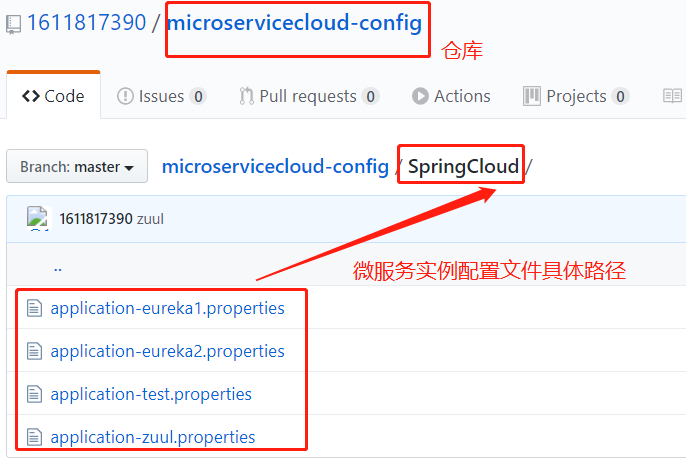
拋出問題: 假如有一個微服務項目,有很多微服務實例,那么相對就有很多配置文件,如果在每個微服務中進行配置,那么每次部署或許都要進行修改,太多微服務,則造成配置文件不易管理。 SpringCloud Config: 此技術用與管理配置文件,C/S模式。把各個微服務實例的配置文件上傳到githu...
