SwiftUI 動畫控制運行軌跡之Curve(2020教程)
歡迎訂閱專欄《SwiftUI 2020教程》
本文價值與收獲
看完本文后,您將能夠作出下面的動畫
看完本文您將掌握的技能
- 掌握4種內置動畫曲線使用
- 實現移動
- 實現顏色變換
- 欣賞遠古壁畫
QQ:3365059189
SwiftUI技術交流QQ群:518696470
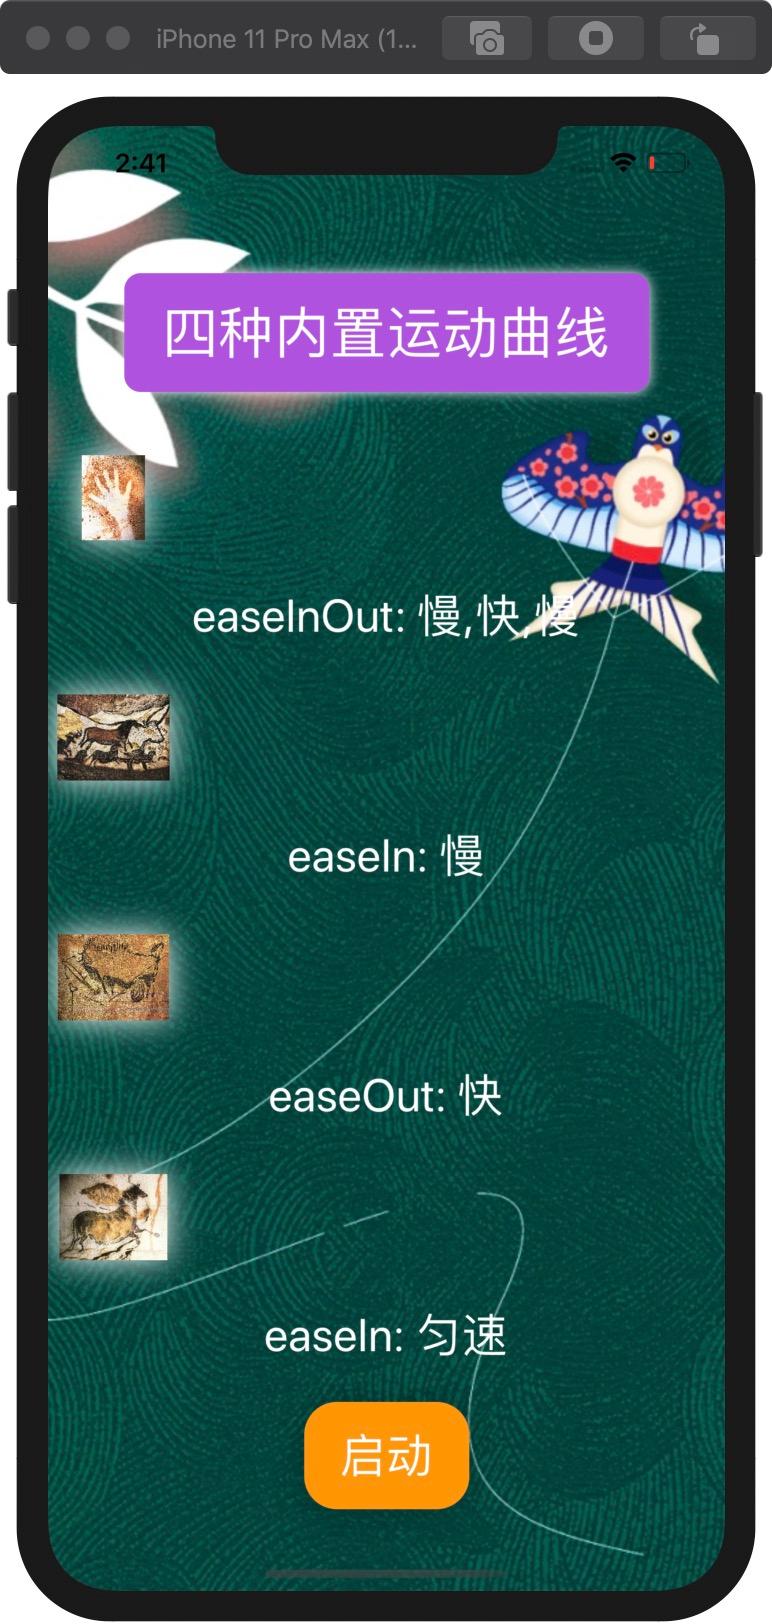
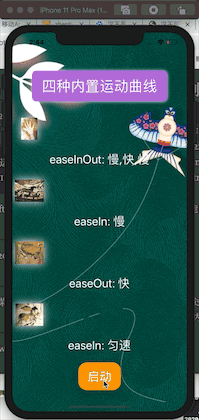
動畫曲線是一種在整個動畫過程中表達速度的方式。在前面的示例中,您看到了“ easeInOut”效果。目前蘋果內置了四個運動曲線
- easeInout
- default
- easeIn
- easeOut
Curve 例子
為了顯示效果,我們通過下面等例子來體驗一下
1、 做個照片struct,方便配置效果
struct ImageBox: View {
    @State var name = "1"
    var body:some View {
        Image(name)
            .resizable()
            .aspectRatio(contentMode: .fit)
            .frame(width:100)
            .cornerRadius(10)
            .shadow(color: .white, radius: 10, x: 0, y: 0)
            .padding()
    }
}
2、 配置圖片移動動畫
 GeometryReader { gr in
                    ImageBox(name: "1")
                        .position(x: self.move ? (gr.size.width - 40) : 40, y: 40)
                        .animation(.easeInOut(duration: 2))

                }
3、完整效果
import SwiftUI
struct ImageBox: View {
    @State var name = "1"
    var body:some View {
        Image(name)
            .resizable()
            .aspectRatio(contentMode: .fit)
            .frame(width:100)
            .cornerRadius(10)
            .shadow(color: .white, radius: 10, x: 0, y: 0)
            .padding()
    }
}
struct CurveView: View {
    @State private var move = false
    var body: some View {
        VStack{
            Text("QQ:3365059189")
                .padding()
            Text(" SwiftUI技術交流QQ群:518696470 ")

                .font(.largeTitle)
                .padding()
                .foregroundColor(.white)
                .background(self.move ? Color.orange : Color.purple)
                .cornerRadius(10)
                .shadow(color: .white, radius: 4, x: 0, y: 0)
               .animation(.easeInOut(duration: 2))
            // Spacer()


            Group{

                GeometryReader { gr in
                    ImageBox(name: "1")
                        .position(x: self.move ? (gr.size.width - 40) : 40, y: 40)
                        .animation(.easeInOut(duration: 2))

                }

                Text("easeInOut: 慢,快,慢")
                    .font(.title)
                    .foregroundColor(.white)

                GeometryReader { gr in
                    ImageBox(name: "2")
                        .position(x: self.move ? (gr.size.width - 40) : 40, y: 40)
                        .animation(.easeIn(duration: 2))
                }
                Text("easeIn: 慢")
                    .font(.title)
                    .foregroundColor(.white)


                GeometryReader { gr in
                    ImageBox(name: "3")
                        .position(x: self.move ? (gr.size.width - 40) : 40, y: 40)
                        .animation(.easeOut(duration: 2))
                }

                Text("easeOut: 快")
                    .font(.title)
                    .foregroundColor(.white)
                GeometryReader { gr in
                    ImageBox(name: "4")
                        .position(x: self.move ? (gr.size.width - 40) : 40, y: 40)
                        .animation(.linear(duration: 2))
                }
                Text("easeIn: 勻速")
                    .font(.title)
                    .foregroundColor(.white)

                //ImageBox(name: "2")
                //ImageBox(name: "3")
                //ImageBox(name: "4")


            }
            // group end
            Spacer()


            Button(action:{
                self.move.toggle()
                //print("here")
            }) {
                Text(" 啟動 ")
                    .font(.title)
                    .foregroundColor(.white)
                    .padding()
                    .background(Color.orange)
                    .cornerRadius(20)
                    .shadow(radius: 10)
            }.padding()


        }.background(
            Image("3yue")
                .resizable()
                .aspectRatio(contentMode: .fill)
                .edgesIgnoringSafeArea(.all)
        )
    }
}
如需源碼可以加入我QQ
QQ:3365059189
SwiftUI技術交流QQ群:518696470
- 請關注我的專欄icloudend, SwiftUI教程與源碼
https://www.jianshu.com/c/7b3e3b671970
智能推薦
SwiftUI之List 和form(2020版)
SwiftUI之List 和form(2020版) VStack 效果 image.png List 效果 image.png List with header & footer 效果 image.png List & navigation Treat.swift 效果 image.png 完成代碼 效果 image.png...
SwiftUI 復用舊項目代碼之UIViewcontroller(2020版教程)
SwiftUI 復用舊項目代碼之UIViewcontroller(2020版教程) SwiftUI 非常好用,開發界面高效快捷,但是具體到業務層面,復用歷史代碼是必須要研究到事情。 如何在SwiftUI中調用UIViewcontroller 1、 創建一個 Wrapper 例如我們有個Example1ViewController舊代碼,我們可以先通過UIViewControllerRepresen...
SwiftUI 高級List 之CardView卡片效果(2020年教程)
SwiftUI 高級List 之CardView卡片效果(2020年教程) 代碼 效果 SwiftUI 高級List 之CardView卡片效果 更多SwiftUI教程和代碼關注專欄 請關注我的專欄 SwiftUI教程與源碼...
SwiftUI 動畫,三板斧
Swift UI 是數據驅動,不是事件驅動 數據驅動與事件驅動的對比, 例子: 添加一個 popUp 視圖 數據驅動, 最上方本來就有一個 popUp,用數據控制他的顯示與隱藏 事件驅動,是創建一個 popUp,添加在最上面 事件驅動,可能重復創建與添加, 數據驅動,安全些 效果 1,展開與收起 @State 修飾的屬性, 作為驅動數據源, source of truth, @State 修飾的屬...
SwiftUI RandomAccessCollection 是什么如何用(2020)
SwiftUI RandomAccessCollection 是什么如何用(2020) 得益于Swift的protocol-oriented 設計,因此可以非常容易的實現各種通用算法。 RandomAccessCollection 介紹 A collection that supports efficient random-access index traversal. 支持高效隨機訪問的集合 R...
猜你喜歡
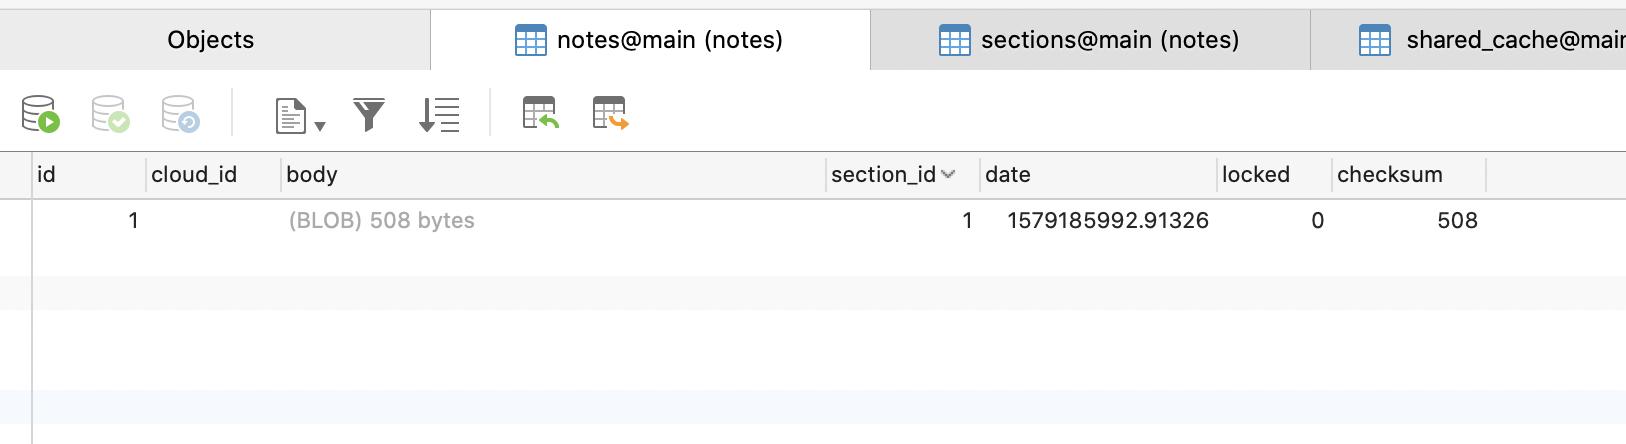
SwiftUI Sqlite如何存儲復雜對象(2020)
SwiftUI Sqlite如何存儲復雜對象 如何你有大量圖片或者復雜文本需要存儲,sqlite 的Blob類型將是你最佳的選擇 代碼 數據截圖 image.png 定義了NoteObject父類 NoteObject的子類 來源 https://github.com/indaos/DaoNotes 更多SwiftUI教程和代碼關注專欄 請關注我的專欄 SwiftUI教程與源碼...
SwiftUI-WWDC2020-實例展示
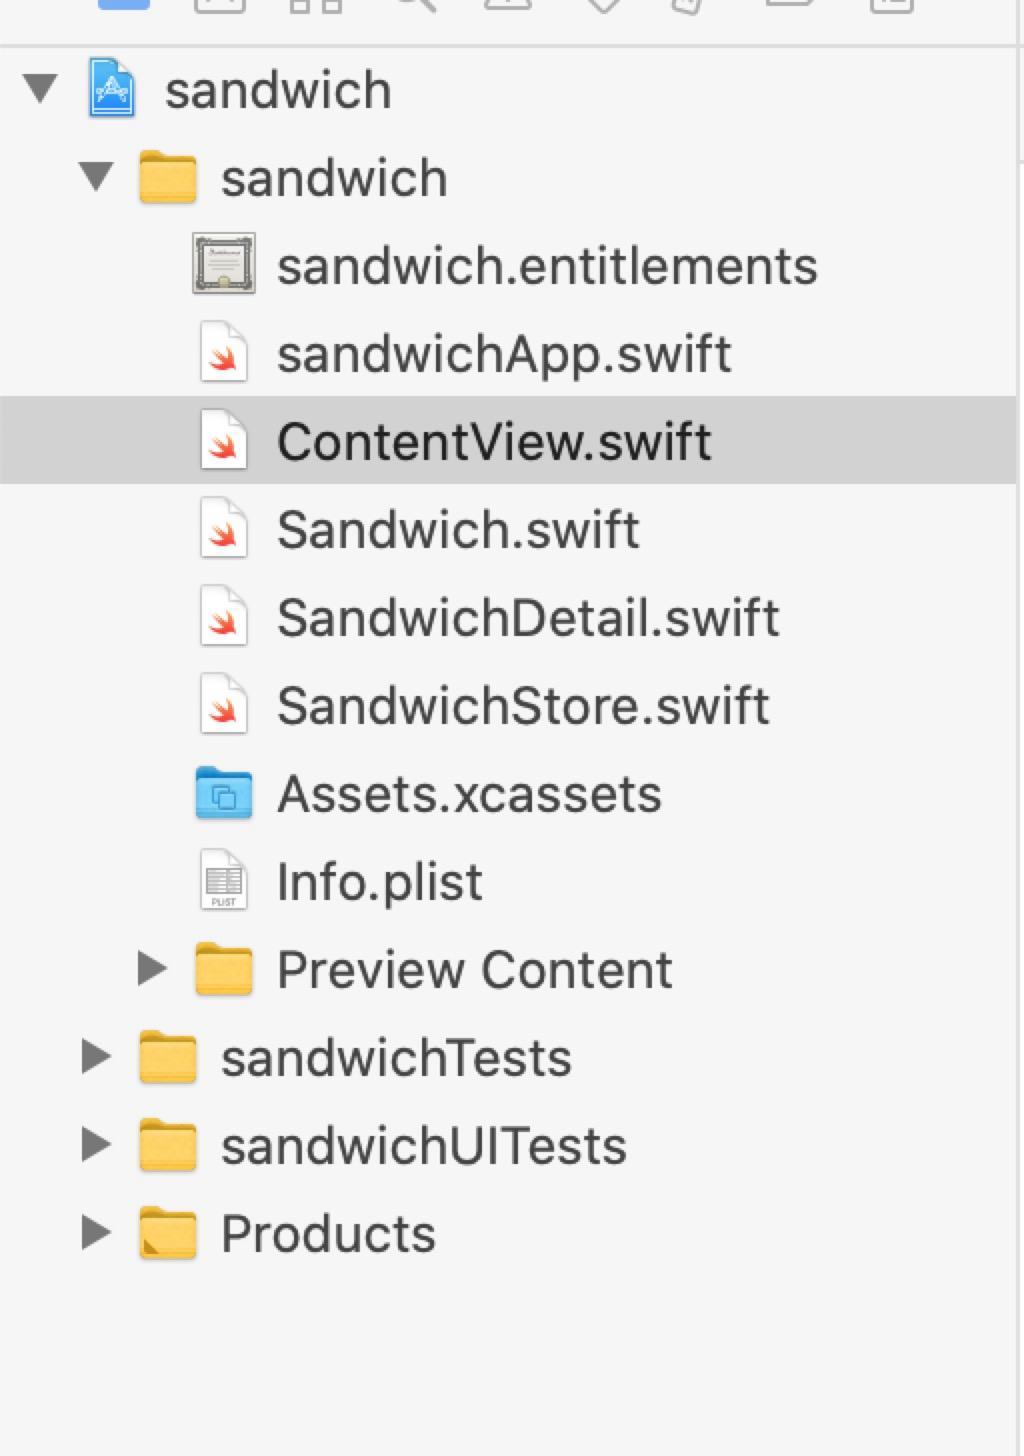
整體效果 總體效果 代碼實現 目錄結構 sandwichApp.swift 程序入口文件,store作為全局變量聲明在此文件,并作為參數傳入ContentView ContentView.swift 主頁面,所有功能和業務邏輯都在此頁面,是一個App的列表頁面,可以新增,移動,刪除,編輯,點擊單元格可進入詳情頁面。單元格抽象為SandwichCell。 SandwichDetail.swift 詳...
SwiftUI ListItemTint 基礎教程(含源碼)
ListItemTint 應用于列表中內容的色調效果的配置。 實戰代碼 技術交流 QQ:3365059189 SwiftUI技術交流QQ群:518696470...


freemarker + ItextRender 根據模板生成PDF文件
1. 制作模板 2. 獲取模板,并將所獲取的數據加載生成html文件 2. 生成PDF文件 其中由兩個地方需要注意,都是關于獲取文件路徑的問題,由于項目部署的時候是打包成jar包形式,所以在開發過程中時直接安照傳統的獲取方法沒有一點文件,但是當打包后部署,總是出錯。于是參考網上文章,先將文件讀出來到項目的臨時目錄下,然后再按正常方式加載該臨時文件; 還有一個問題至今沒有解決,就是關于生成PDF文件...